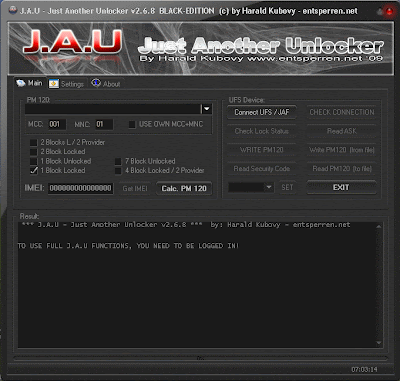
- J.A.U Another Unlocker Black Edition
- J.A.U Use Manual Download,

Samsung ATIV Odyssey I930 Hard Reset Instructions - The Samsung ATIV Odyssey I930 phone also known as Samsung SCH-I930. This smartphone powered by Dual-core 1.5 GHz Krait procesor with Qualcomm MSM8960 Snapdragon chipset. It runs on Microsoft Windows Phone 8 operating system with 1GB of RAM. The phone measuring 122.4 x 63.8 x 10.9 mm and equipped 5MP camera. While for network work on under GSM/HSDPA/CDMA/LTE network. Ok guys, if you are owner of this smartphone, here we have information about hard reset instructions or tutorial for Samsung ATIV Odyssey I930. Read below to know about it:
Samsung ATIV Odyssey I930 Hard Reset Guide
If your phone has trouble for example freezes or hangs, so you must close programs or reset the phone to regain functionality. In addition If your phone is frozen and unresponsive, press and hold the Power key for 11-13 seconds. The phone will power off forcefully.
Factory Data Reset
But, If the above does not solve the problem, you can try perform a factory data reset. Follow this instructions: In Menu mode, select Settings > system > about > reset your phone > yes > yes.


SMS – Use “SMS Backup & Restore app”,
Contacts – Sync with the Gmail application,
Call Log - Call Log and Restore
Images, Songs, Videos, Files – Copy to internal / External SD Card,
APN and MMS Settings – Note down from the path “Applications > Settings > Wireless and Network > Mobile Networks > Access Point Names”
Disclaimer: Though we don’t like to give any disclaimers, the only thing we would like to tell you is that please follow all the instructions mentioned in this article or else there is a risk of bricking your device for which we should not be held responsible.
Note: If the device gets stuck in the Samsung logo or gets into the boot loop mode then you need to long press the power button and turn off the device. Repeat the process from the start by following the instructions.

 |
| Cell Phone Repair |


SMS – Use “SMS Backup & Restore app”,
Contacts – Sync with the Gmail application,
Call Log - Call Log and Restore
Images, Songs, Videos, Files – Copy to internal / External SD Card,
APN and MMS Settings – Note down from the path “Applications > Settings > Wireless and Network > Mobile Networks > Access Point Names”
Note: Just in a rare case if the device doesn’t boot up or show the home Lcd then remove the battery and reinsert the same to boot the device again in the normal mode.


SMS – Use “SMS Backup & Restore app”,
Contacts – Sync with the Gmail application,
Call Log - Call Log and Restore
Images, Songs, Videos, Files – Copy to internal / External SD Card,
APN and MMS Settings – Note down from the path “Applications > Settings > Wireless and Network > Mobile Networks > Access Point Names”
Disclaimer: Follow all the instructions mentioned in this article as if there is any damage caused due to not following instructions then we shall not be held liable or responsible. Just in case if you face any issues then we will try our level best to address the same.
Tip: If your HTC One refuses to boot up or say gets into the boot loop mode, then you need to re-apply the whole process from the start so as to make sure that the device is updated with this firmware
| Samsung Wave M GT-S7250D Factory data reset |
| Hard reset Garmin Forerunner 310XT to Factory default settings |